


Table of contents
- Introduction
- Syntax
- Searching for a term
- Searching for a term in all the files
- Searching for a term recursively
- Dealing with case sensitivity
- Counting the occurrences
- Finding the line number
- Getting file names
- Searching for the exact match
- Searching in multiple files
- Suppressing the file names
- Searching for multiple keywords
- Inverting the search
- Executing quietly
- Searching with context
- Using grep with wildcards
Introduction
Imagine looking for something in a completely dark room and the only thing you can use is your sense of touch. You'll eventually be able to find the thing, but it might take some time. Now imagine, you stumble upon a box of matchsticks, you light one up, walk around the room with it, and voila! in no time you would have found it.
The Command Line Interface is just like that dark room, you can't see or do anything with it unless you don't know which tools to use. grep is one such tool that lets you see in the dark. It is a tool that is immensely powerful with an endless number of use cases. It is one of the most important tools for Unix-like operating systems and should be known by everyone working with a Linux distro.
Grep stands for Global Regular Expression Print. The Grep command is used to get instances of a text, matching a regular expression. It uses a non-deterministic algorithm to find an instance of a pattern given to the command.
Non-deterministic algorithms are those which can travel along different paths in a scenario to give an approximate outcome rather than an exact match. That is why on executing the grep command with a keyword one also sees the instances where there are matching characters of another word. These algorithms are generally slow since they do not execute in polynomial time.
Without further ado, let's get on with the tutorial
Syntax
The syntax of using the grep command is
grep "search-term" file-name
Note that the search-term can be used without the inverted commas, but it is a good practice to include them.
To start working with the grep tool, we have two pieces of text here. To practice along, create two separate files with the names provided. Also, create a directory in the current folder with the name dir and copy/paste bio1.txt into a file named bio1Copy.txt
bio1.txt
Alan Mathison Turing OBE FRS was an English mathematician, computer scientist, logician, cryptanalyst, philosopher, and theoretical biologist. Turing was highly influential in the development of theoretical computer science, providing a formalization of the concepts of algorithm and computation with the Turing machine, which can be considered a model of a general-purpose computer. Alan is widely considered to be the father of theoretical computer science and artificial intelligence.
bio2.txt
Born in Maida Vale, London, Turing was raised in southern England. He graduated at King's College, Cambridge, with a degree in mathematics. Whilst Alan was a fellow at Cambridge, he published a proof demonstrating that some purely mathematical yes-no questions can never be answered by computation and defined a Turing machine, and went on to prove that the halting problem for Turing machines is undecidable.
Searching for a term
To look for a term in a given file we can write
grep 'Alan' bio1.txt
Output

Searching for a term in all the files
To look for a term in all the files present in the current directory we use the wildcard '\'*. The output will be displayed along with the file names
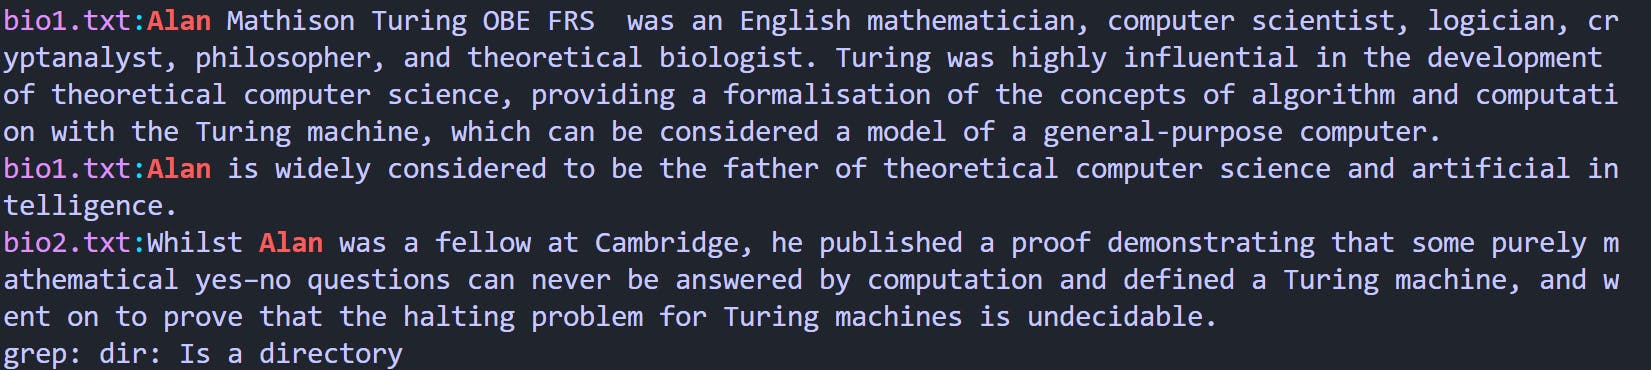
grep 'Alan' *
Output
Searching for a term recursively
Some of you might have noticed that at the end of the output of the previous command we got grep: dir: Is a directory. By default, the grep tool does not go and look inside the directories. To make it do so we use the -r flag
grep 'Alan' -r *
Output
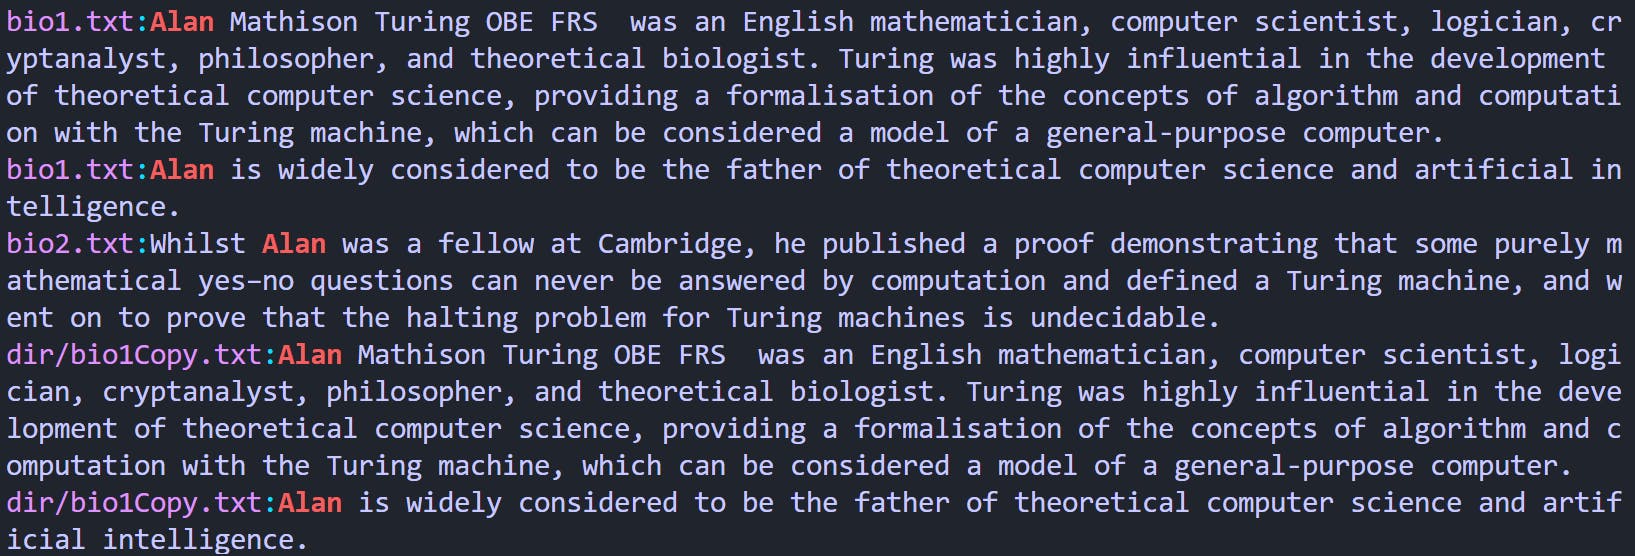
The grep tool recursively looks inside the directories and all of its sub-directories, and prints all the instances of the search term along with their respective file names.
Dealing with case sensitivity
If we are to look for Theoretical in the text files, we would get no results. Since by default the grep tool is case-sensitive, to ignore the case sensitivity, we use the -i flag
grep -i 'Theoretical' *
Output

Counting the occurrences
There might be an instance where one might need to count the occurrences of the search term. In that case, we use the -c flag.
grep -c 'Alan' *
Output

We know that there exists a copy of bio1.txt inside the directory, and grep tool, by default, will not go inside the directory to look for the term, so we use -r flag in combination with the -c flag to look for the instances of the search term inside the directory
grep -cr 'Alan' *
Output

Finding the line number
Scouring through text to find the exact line number of an occurrence can be time-consuming as well as a painstakingly long process. To get the exact line number of the instance of the search term, we use -n flag
grep -n 'Alan' bio1.txt
Output

Getting file names
To get the file names containing a given search term we use the -l flag. This can be useful while scanning logs for an error message
grep -l 'Alan' *
Output

Here I am using -lr instead of just the -l flag to look into the directories recursively.
The opposite of this is printing the file names not containing the search term. For that, we use the -L flag
grep -L 'Alan' *
Searching for the exact match
Running the grep tool with a search term returns all the instances of it even if it is an incomplete word or a sequence of characters inside a word. For example, the sequence of characters reti in Theoretical
grep 'reti' bio1.txt
Output

Suppose reti was an actual word and if we were to search for all the exact matches, we would have used the -w flag
grep -w 'reti' bio1.txt
Searching in multiple files
To look for the search term in multiple files, we can mention the file names consecutively
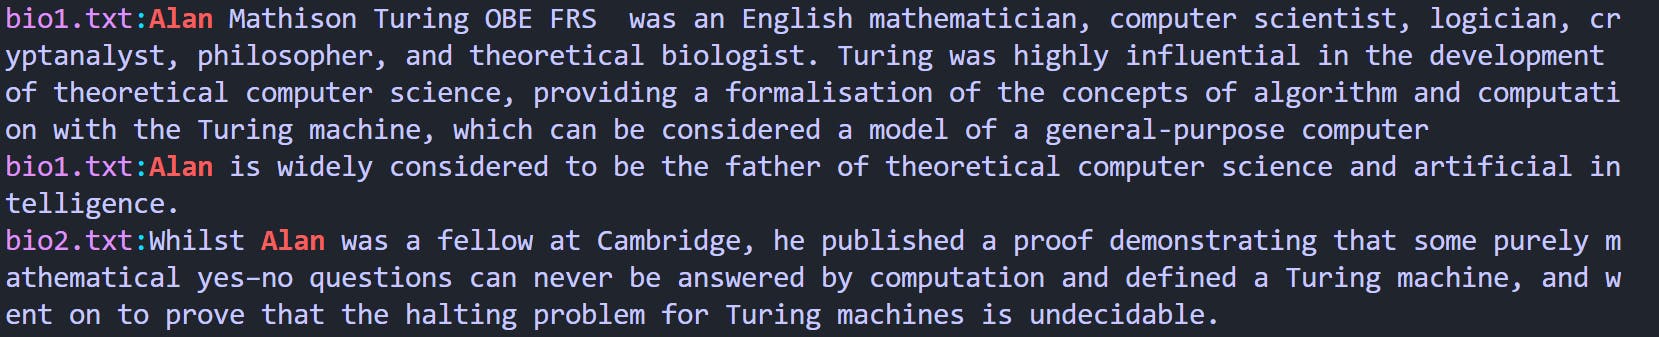
grep 'Alan' bio1.txt bio2.txt
Output
Suppressing the file names
By default when searching multiple files for a keyword, the file names are displayed along with the highlighted search term. To suppress the file names we use the -h flag
grep -h 'Alan' *
Output
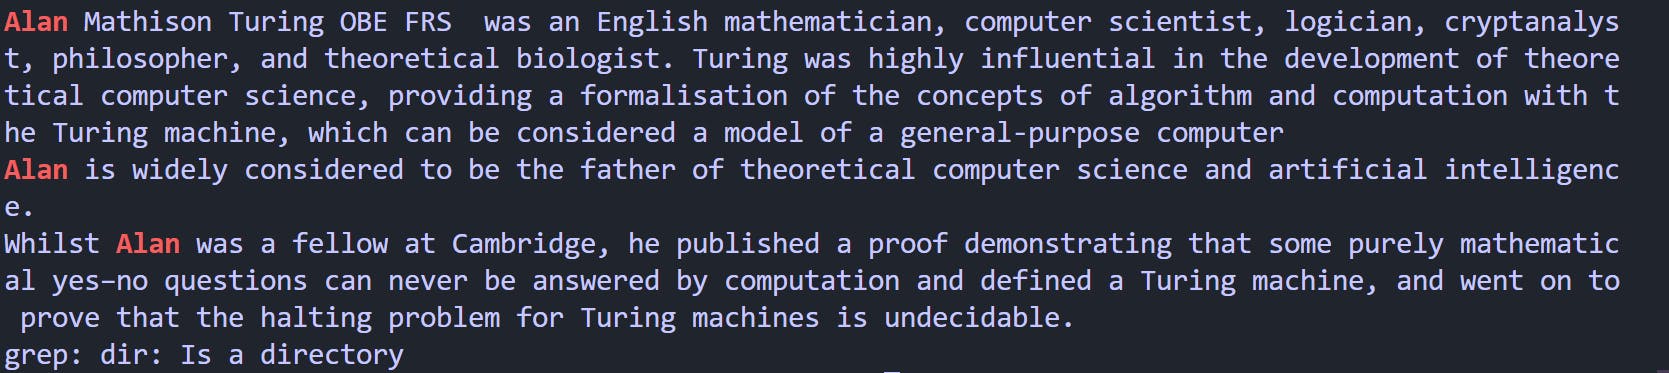
On comparing it with the output for the previous command, you'll notice that the file names have been omitted.
Searching for multiple keywords
Suppose we are searching for multiple keywords in an error log. Instead of typing out the grep command again and again with different keywords, we can use the -e flag to denote them separately
grep -e 'Alan' -e 'theoretical' bio1.txt
Output

Given that this article is about grep, I would like to mention one more tool here which is quite useful for searching multiple keywords at once. Instead of writing the -e flag repeatedly for separate words, we can use the egrep tool to make the job easier. We can chain as many search terms as we need to find their occurrences
egrep 'Alan|theoretical' bio1.txt
Inverting the search
Until now, we have looked at examples of getting results for a particular search term, but what if we want to search for files that do not contain a keyword? For that purpose, the -v flag comes to our rescue. It helps us invert the search results by excluding the searches that contain the keyword.
grep -v 'Alan' *
Output

Executing quietly
The grep tool will give an output whenever the matching pattern is found. To suppress the output, we use the -q flag
grep -q 'Alan' bio1.txt
We know that the file bio1.txt contains instances of the pattern Alan. Since we have silenced the output, is there a way to find out if the search term existed at all? Yes. To verify it, type the following in the shell
echo $?
$? represents the exit status of the previous command. Commands output 0 on their successful completion and numbers other than 0 in case they have failed.
Searching with context
While looking for an error message in a log, some context might be required so as to understand what the error message is about. The grep tool allows one to get the number of lines, either before or after a given keyword. These flags are used in conjunction with the number of lines required as output.
To get lines after a keyword, we use the -A flag. Here I am using a list of names to demonstrate the workings of these commands
grep -A 4 "keyword" fileName.txt
Output

To get lines before a keyword, we use the -B flag.
grep -B 4 "keyword" fileName.txt
Output

To get a certain number of lines, both before and after a given keyword, we use the -C flag.
grep -C 4 "keyword" fileName.txt
Output

Using grep with wildcards
Regular expressions are powerful when matching specific patterns in a text. In this example, we will work with a file containing the names of the packages available to download for Ubuntu.
The first step is creating a file containing the list of all the package names.
sudo apt list > packageNames.txt
Wait until this operation is complete. In case you want to see the names of the packages getting printed in the standard output, use the tee command. tee creates a file, while simultaneously printing the data to the standard output.
sudo apt list | tee packageNames.txt
Get a line starting with a keyword
To get the line starting with a given keyword we use the caret ^ wildcard.
grep '^apache' packageNames.txt
Output

Get a line ending with a keyword
To get a line ending with a given keyword we use the dollar $ wildcard. Note that this wildcard does not work when there is a new line character.
grep 'amd64$' packageNames.txt | less
Output
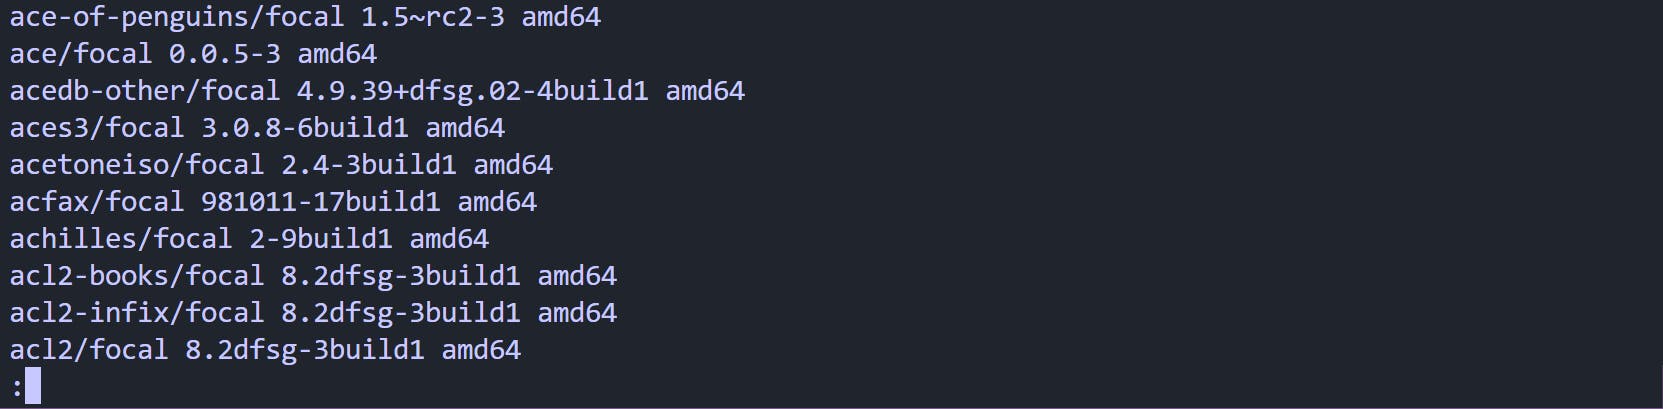
I am using the less command along with grep so that there can be a scrollable view. To go to the end of the results, use shift+g , and q to exit out of the viewing mode. You can however choose to use it without piping the result to the less command Executing this will list all the package names ending with the term amd64.
Searching for regular expressions
Let's take an example. Suppose there is a lucky draw and you are only allowed to select names that start with R and with the next letter in the range a-o. For that purpose, we can use a regular expression along with a wildcard
grep "^R[a-o]" names.txt
Output

I've given some general examples in this article. Depending on the scope of the application, the use of the grep tool can be modified.